Diagnosing No‑Spark Problems on Small Outboards
A practical, step‑by‑step HTML guide for small‑outboard owners — find the cause, run safe tests, and decide when to call a mechanic.
Quick summary
No spark at the plug is a common reason small outboards won’t start. Usually it’s one of a handful of issues: kill switch/immobiliser problems, battery/charging faults (on electric start models), bad spark plug or lead, faulty ignition coil, stator/CDI/ECU issues, or wiring/connectors corroded by salt. Work methodically and safely — the tests below will help you narrow it down.
Tools you’ll need
- Screwdrivers and pliers
- Spark plug socket and torque wrench
- Insulated spark‑tester (cheap handheld tester)
- Multimeter (DC voltage and continuity)
- Replacement spark plug (known good plug helps)
- Dielectric grease and contact cleaner
Illustrative “photo” panels (SVG)
1 — Inspect spark plug & capSpark plug: look for fouling, cracks or corrosion
2 — Using an in-line spark testerInline spark tester between plug cap and plug — check for visible sparkIf you see a strong blue spark, ignition is OK upstream
3 — Kill switch & wiringKill switch, lanyard or starter interlock — common immediate causeCheck clip, lanyard and any inline safety switches for continuity
Step‑by‑step diagnosis
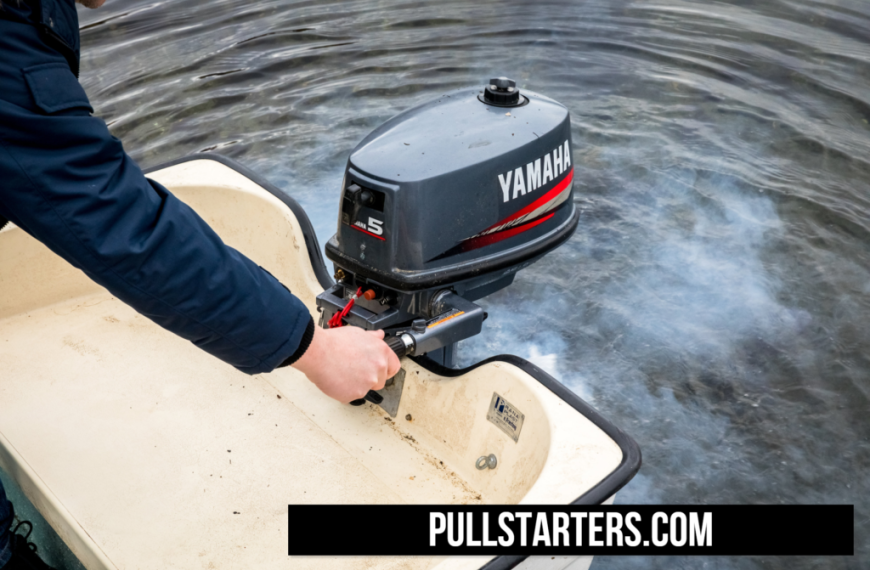
1 — Safety first: Remove spark plug leads or ignition key as needed, wear gloves and keep tools insulated. For tiller‑handle or remote kill switches, make sure the lanyard is removed and the switch is in the RUN position when testing.
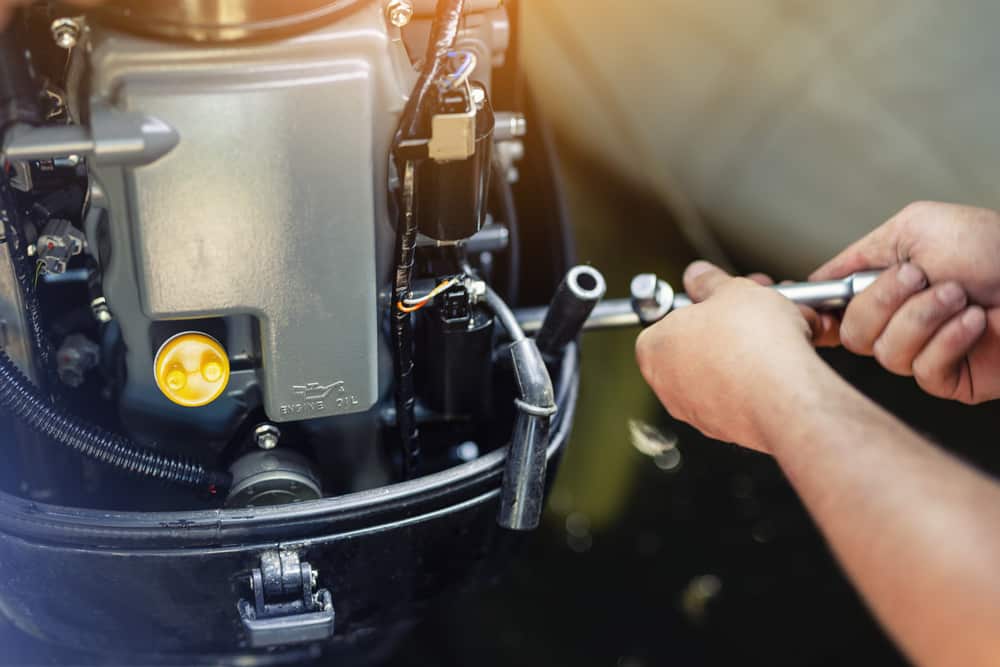
2 — Visual inspection: Remove the spark plug and inspect for fouling (oil, fuel, carbon), cracked porcelain, or corrosion. Check the plug cap and HT lead for cracked insulation and corroded terminals. Replace the plug with a known‑good one if in doubt.
3 — Test for spark safely:
- Use an inline spark tester between the plug cap and plug. Crank the engine; a bright blue spark shows the ignition coil and CDI (or magneto) are producing high tension.
- If no tester available, remove the plug, reconnect to the cap, ground the plug body to the engine with insulated pliers, and crank briefly — a visible spark should jump the electrode gap. Don’t hold the plug by hand.
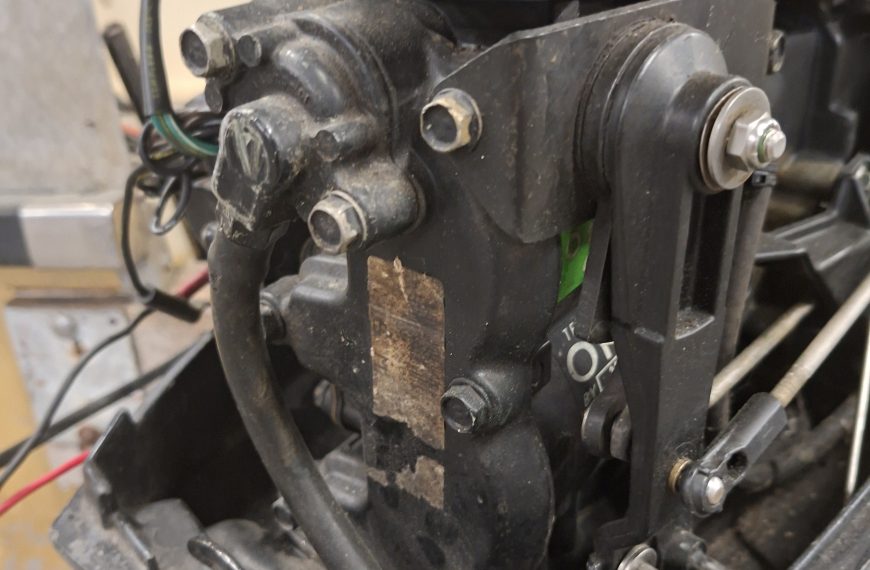
4 — Check the kill switch & wiring:
With a multimeter on continuity, test the kill switch/lanyard circuit. Many no‑spark cases are simply the kill switch being open or the lanyard clip missing. Also inspect connectors for salt corrosion at the ignition switch, kill switch and rectifier/coil connections.
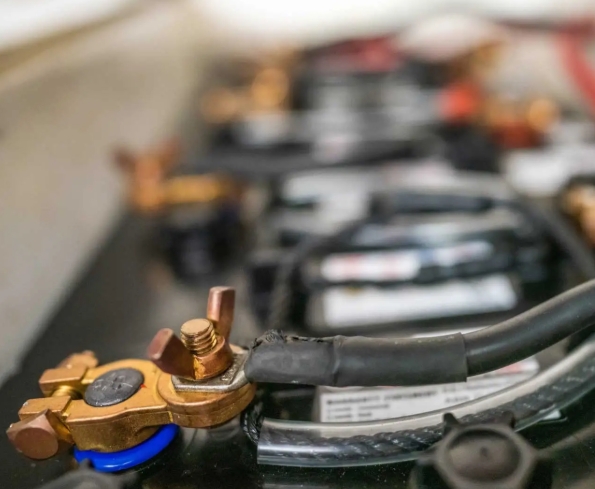
5 — Battery & charging system (electric start models):
Low voltage can prevent ignition modules from charging capacitors. Measure battery voltage — it should be above ~12V at cranking. Check connections, starter solenoid, and charging output while running (if possible).
6 — Ignition coil, stator & CDI checks:
If you have a workshop manual, follow the resistance tests for the ignition coil and stator. Use the multimeter to test for open coils or obvious short circuits. Ignition control modules (CDI/ECU) are less easy to bench test — intermittent faults here often require replacement or expert diagnosis.
7 — Swap known good components:
If you have access to a known‑good spark plug, plug cap or coil, swapping these parts can quickly isolate the fault.
Troubleshooting table (quick reference)
| Symptom | Likely causes | Quick test |
|---|---|---|
| No spark at plug | Kill switch open, bad plug, broken HT lead, faulty coil/CDI | Check kill switch continuity; use inline tester; swap plug |
| Intermittent spark | Wiring corrosion, loose connector, failing coil | Wiggle wiring while cranking; clean contacts |
| Weak, orange spark | Weak coil, low battery, poor earth | Check battery voltage & earth connections |
When to stop and call a pro
If tests point to a faulty stator, CDI, or internal ignition timing issues, or if you’re not confident making electrical resistance tests, get a professional. Faulty high‑tension circuits can be dangerous, and modern ignition systems sometimes need specialist equipment.
Pro tip: Keep a spare spark plug, a basic inline tester and a small toolkit on board — they’re inexpensive and often get you started again without a tow.
Post‑repair checklist
- Use dielectric grease on spark plug cap terminals to keep out moisture.
- Replace corroded connectors and weather‑seal them.
- Check and replace sacrificial anodes if needed.
- Run the engine and check for reliable starting and steady idling.

 By
By