How to Wire a Basic 12V System on Small Boats
A simple 12-volt system can transform a small boat. It allows you to run navigation lights, a bilge pump, USB chargers, a fish finder, or a VHF radio — all safely and reliably.
This guide explains how a basic 12V system works, what components you need, and how to wire it correctly without overcomplicating things.
What Is a Basic 12V Boat System?
On small boats, a 12V system usually consists of:
- One battery
- A few electrical devices
- Simple wiring and protection
There’s no alternator, no inverter, and no shore power — just a safe, straightforward setup.
Core Components You’ll Need
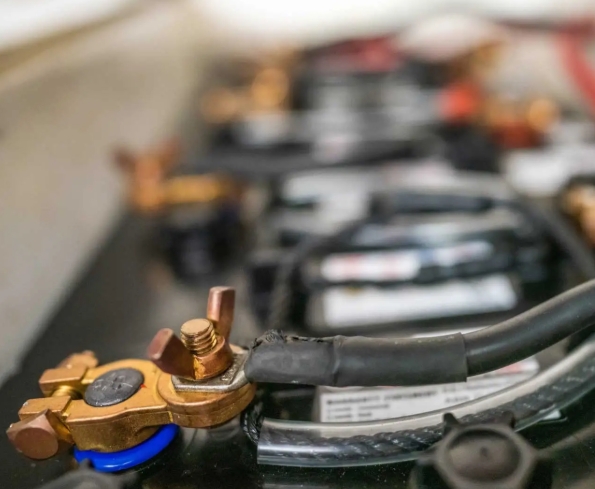
1. 12V Battery
Most small boats use:
- Leisure (deep-cycle) battery – best option
- Car battery – usable, but not ideal long-term
Typical sizes:
- 70–110Ah for most small boats
Secure the battery in a battery box and strap it down.
2. Battery Isolator Switch (Highly Recommended)
This lets you shut off all power when the boat isn’t in use.
Benefits:
- Prevents battery drain
- Improves safety
- Makes maintenance easier
Fit it as close to the battery as possible.
3. Fuse Box or Inline Fuses
Every circuit must be fused.
Options:
- Small marine fuse box (best)
- Inline blade fuses (acceptable for very small systems)
Never run a device directly from the battery without a fuse.
4. Marine-Grade Cable
Always use tinned marine cable if possible.
Why?
- Resists corrosion
- Handles vibration better
- Lasts longer in damp conditions
Typical sizes:
- 1.5mm² – lights, USB sockets
- 2.5mm² – bilge pumps, electronics
- 4–6mm² – main supply runs
A Simple Wiring Layout (Basic Idea)
Battery (+)
→ Main fuse (near battery)
→ Isolator switch
→ Fuse box
→ Individual circuits (lights, pump, sockets)
Battery (–)
→ Negative bus bar
→ All device negatives
Keeping positives and negatives organised prevents faults later.
Wiring Navigation Lights
- Run a positive wire from the fuse box
- Through a switch
- To the light
- Return the negative to the negative bus bar
Label the switch so you know what it controls.
Wiring a Bilge Pump
Bilge pumps often have two circuits:
- Automatic feed (always live, fused)
- Manual feed (via a switch)
Important tips:
- Fit a fuse close to the battery
- Use waterproof connectors
- Keep wiring high and dry
Even beginners should take extra care with bilge pump wiring — it’s a safety system.
USB & 12V Socket Wiring
USB sockets are handy but easy to overload.
Best practice:
- Fuse each socket
- Use thicker cable than you think you need
- Avoid cheap, unbranded units
A short circuit at sea can ruin your day fast.
Common Beginner Mistakes
- ❌ No fuse near the battery
- ❌ Using household wire
- ❌ Mixing positive and negative runs randomly
- ❌ Poor crimp connections
- ❌ No battery isolation switch
Most electrical problems come from shortcuts.
Basic Safety Rules
- Disconnect the battery before working
- Fuse every circuit
- Support cables so they don’t chafe
- Keep wiring away from fuel lines
- Use heat-shrink crimps where possible
If in doubt — stop and double-check.
How Complex Should a Small Boat System Be?
For most small boats:
- 1 battery
- 1 isolator
- 1 fuse box
- 4–6 circuits
That’s more than enough.
Simple systems are:
- Easier to fault-find
- Cheaper
- More reliable
Final Thoughts
Wiring a basic 12V system on a small boat isn’t difficult — but it must be done neatly, fused, and safely.
Take your time, plan the layout, and avoid cheap shortcuts. A well-installed system will give you years of trouble-free use and confidence on the water.
 By
By