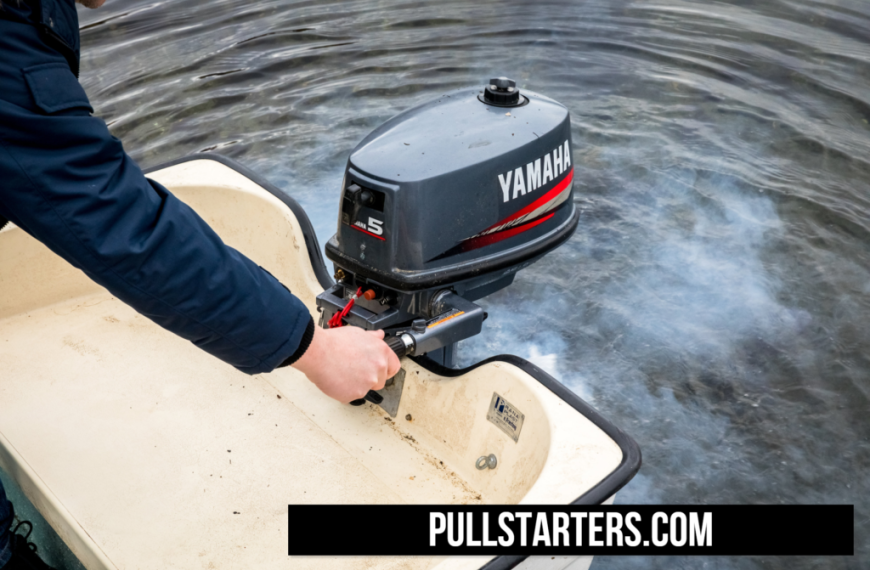
How to Winterise a Small Outboard — Step-by-Step
How to Winterise a Small Outboard
Summary: Winterising a small outboard protects the engine from corrosion, fuel problems, water freeze damage and makes spring commissioning much easier. This guide covers both 2-stroke and 4-stroke small outboards, with clear steps, safety notes and photo suggestions you can replace with your own images.
Estimated time: 45–90 minutes depending on tasks (oil change, prop removal). Difficulty: Beginner / Intermediate.
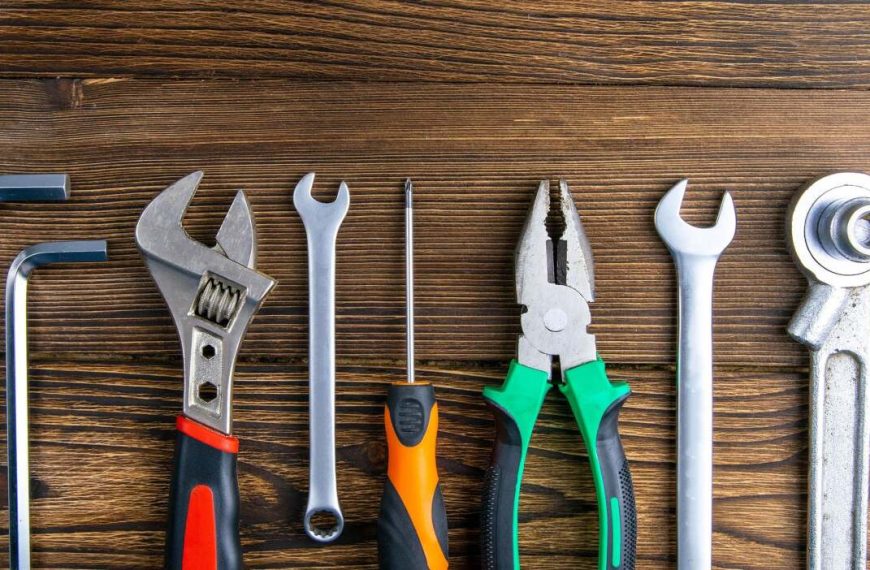
Tools & Materials
- Owner’s manual (essential)
- Fuel stabiliser (ethanol-safe)
- Screwdrivers, socket set, pliers
- Gear (lower unit) oil & oil extractor
- Engine oil (4-stroke) & oil filter (if applicable)
- Fogging oil (or manufacturer recommended cylinder preservative)
- Warm, fresh water source (hose) or earmarked bucket
- Battery charger / maintainer
- Marine grease & spray lubricant
- New impeller (optional) — inspect old one
- Rags & drip tray
- Silicone-based engine cover or breathable cover
Safety First
Warning: Work in a well-ventilated area. Avoid open flames or sparks when working with fuel. Dispose of oils and fuels responsibly at a local recycling centre. If anything seems beyond your comfort level, stop and get a mechanic to help.
Pro tip: Keep a small notebook and take photos at each step so you can reverse the process easily in spring.
Quick Overview (What we’ll do)
- Prepare the engine and fuel system (stabiliser or drain).
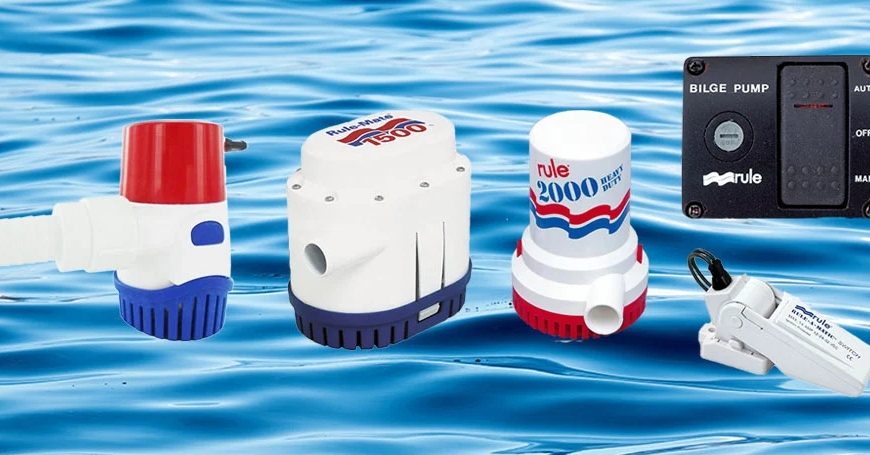
- Flush cooling system / remove water.
- Fog the engine for internal protection.
- Change lower-unit (gear) oil; inspect seals.
- Service 4-stroke oil & filter (if applicable).
- Inspect propeller & grease fittings; remove debris.
- Battery care and electronics storage.
- Protect, cover and store the outboard upright in a dry place.
Step-by-Step Winterising
Before you start: Read the owner’s manual for model-specific instructions. The text below is general guidance for small outboards.
- Run the engine and treat the fuel system. Warm the engine to operating temperature so moisture can evaporate, then either:
- Option A (recommended for most): Add a fuel stabiliser to the tank, run the engine for 10–15 minutes so treated fuel circulates through the carburettor/injectors and into the engine.
- Option B (if long-term storage or system prone to varnish): Drain fuel from carburettor and fuel lines following the manual.
- Flush the cooling system (saltwater users especially). Attach a flushing muffs or use a bucket adapter. Run cool water through the engine for 5–10 minutes until the engine runs smoothly and the thermostat opens. This clears salt and grime. Photo: flushing the outboard with muffs Photo placeholder — flushing engine with muffs or hose Photo suggestion: Muffs on the lower unit / person holding a hose into the muffs. If you used a bucket, show the bucket setup.
- Fog the engine (preserve internal parts). Fogging means spraying fogging oil into the carburettor or intake while the engine is running on a low idle, so oil coats the cylinder walls and prevents corrosion. Use manufacturer-approved fogging oil (or a recommended preservative). For 2-stroke: Spray into the intake/airbox until white smoke appears, then shut off engine. For 4-stroke: Spray into the intake or follow manual instructions — don’t overdo it. Wipe away excess oil. Photo: fogging the engine Photo placeholder — fogging oil being applied Photo suggestion: Close up of fogging oil spray can into intake or airbox. Show white exhaust ‘smoke’ if visible.
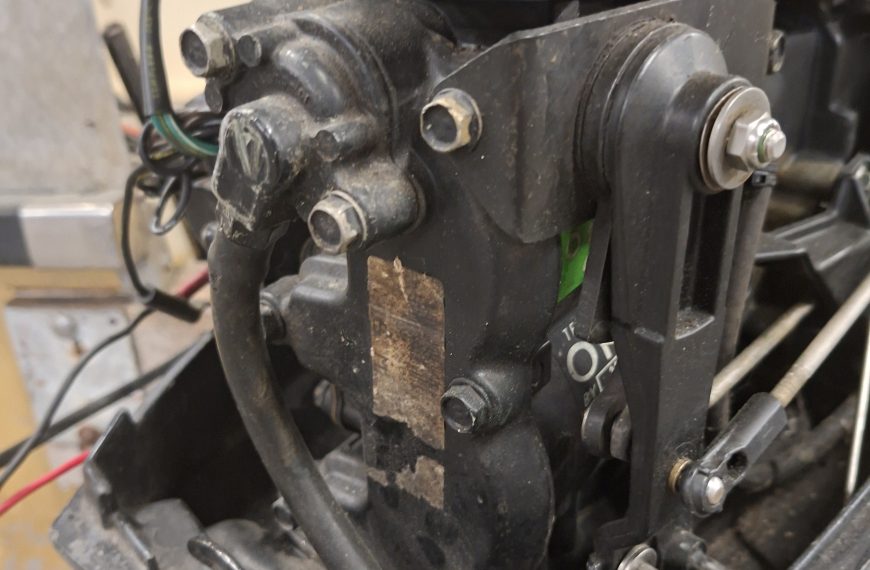
- Change or check lower-unit (gear) oil. Place a drip tray, remove the drain & fill plugs and extract the old gear oil. Check for water contamination — milky oil or white residue signals water ingress (repair needed!). Refill with the manufacturer’s specified gear oil. Photo: draining lower-unit oil Photo placeholder — draining lower unit oil Photo suggestion: Drain plug removed, old oil draining into a container. Capture milky oil vs clean oil for reference.
- Service 4-stroke engine oil & filter (if applicable). If your outboard is a 4-stroke, change the engine oil and filter per the manual before storage. For small 2-stroke engines, check the oil injection reservoir and top up if required.
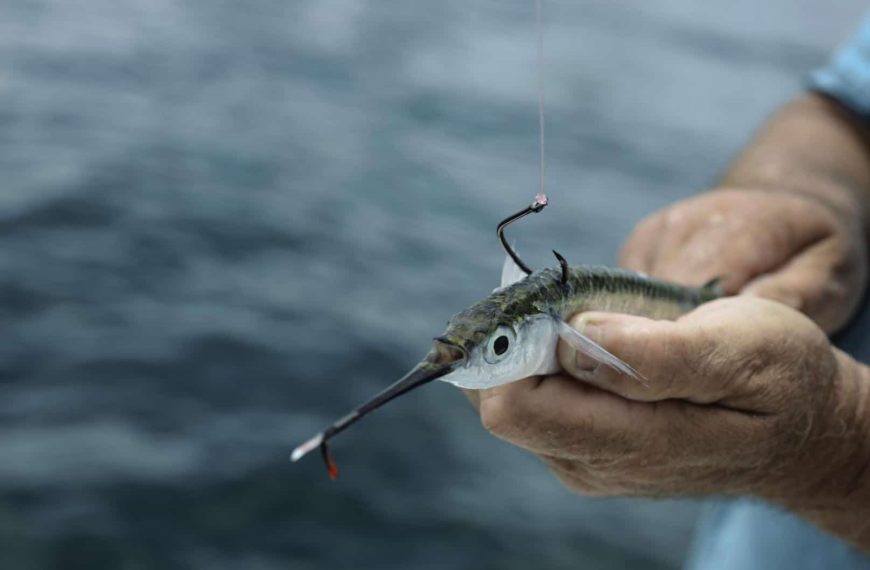
- Inspect the propeller & grease fittings. Remove the propeller (if comfortable doing so) and check for fishing line, nicks or damage. Grease the prop shaft and check the spline. Replace damaged props or repair nicks. Photo: propeller inspection Photo placeholder — propeller removed and inspected Photo suggestion: Propeller removed, shaft exposed, show any line damage or nicks.
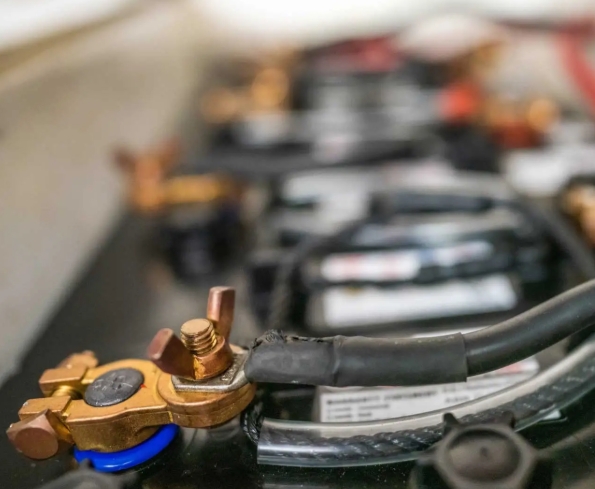
- Battery & electronics care. Disconnect the battery and store on a tender smart charger/maintainer at 50–70% charge. Remove small electronics or simply bring them inside. Spray connectors with dielectric grease if exposed to moisture.
- Clean, dry & cover the engine. Wipe the engine down, remove salt/grease, and dry thoroughly. Tilt the engine down briefly to make sure water drains from the motor, then store it in the upright (tilt) position recommended by the manufacturer. Use a breathable cover — do not wrap tightly with non-breathable plastic which can trap moisture. Photo: engine covered and stored upright Photo placeholder — outboard covered and stored Photo suggestion: Engine upright on a rack or transom, covered with a breathable cover, battery removed and stored nearby.
Troubleshooting & Common Issues
- White, milky gear oil: water contamination — do not ignore; replace seals and check water pump and gaskets.
- Engine won’t run after fogging: check spark, ignition cut-off, and that the spark plugs are not fouled by excess oil.
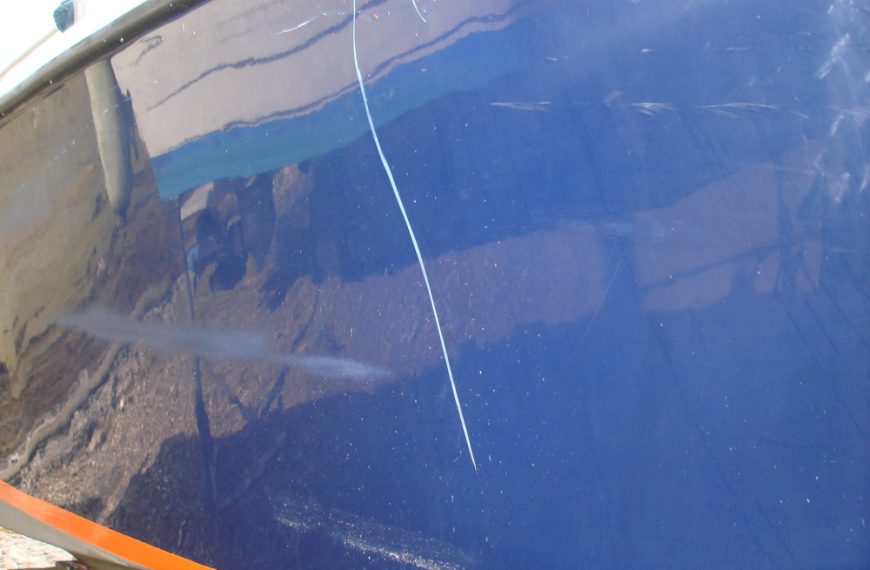
- Corrosion spots: clean with a gentle brush and treat with corrosion inhibitor.
Final Notes
Winterising properly takes a bit of time but can save big repair bills and frustration in spring. Keep a simple log: date, what you did, litres of oil used, any parts replaced — and add photos. Label any items you remove (prop, drain plugs, etc.) so nothing gets lost.
If in doubt about mechanical tasks (lower unit seals, gearbox issues), consult a certified marine mechanic.
Printable Checklist
Read owner’s manual Add fuel stabiliser & run engine Flush cooling system Fog engine Change lower-unit oil Change 4-stroke oil & filter (if applicable) Inspect & grease prop shaft; remove debris Remove / maintain battery Clean & dry engine Cover & store upright in dry place Take photos & note any issues
Photo Guidance (what to shoot)
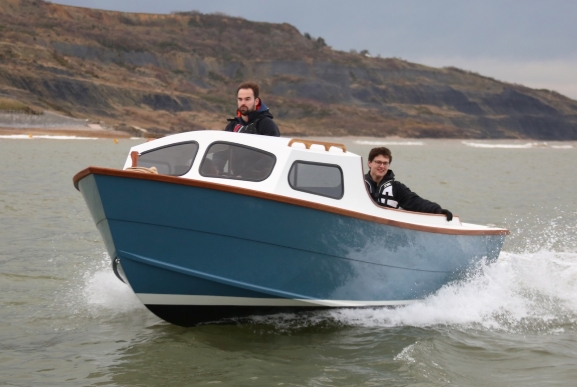
- Wide shot of the boat on the trailer/work area before starting.
- Close-up of fuel stabiliser bottle & pouring action.
- Flushing setup (muffs / bucket / hose).
- Fogging oil application (intake / exhaust white smoke).
- Drain of lower unit oil (show colour & consistency).
- Prop removal & shaft inspection.
- Battery removal & storage on maintainer.
- Final covered engine stored upright.
Tip: Use a phone in landscape, 16:9 works well for blog headers; keep captions short and helpful.

 By
By